Plant Care
How to Repot Your Plant?
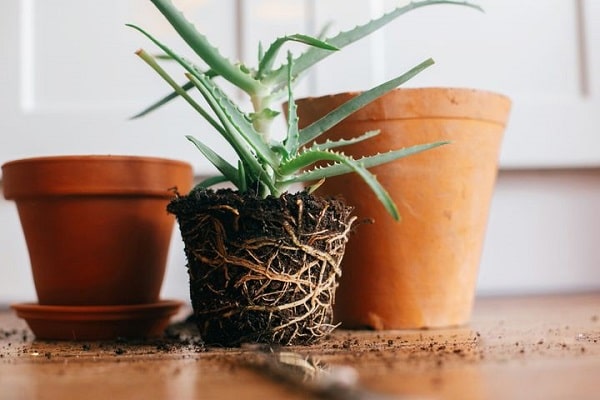
Repotting is an efficient solution to promote root health and growth. As plants grow and more roots continue to develop, they tend to outgrow the pots or containers where they are planted. Because of this, they need more room and some fresh new soils.
What are the Signs that Your Plants Want Repotting?

You can simply tell that the plants need repotting when you see roots starting to come out of the soil. Some roots also grow through the pot’s drainage holes, which is a sign that they are asking for a new, bigger pot to grow more.
Another sign that shows the roots of the plants are growing bigger on its current pot is when water sits on top of the soil as if the soil is not absorbing it. It happens when the roots are more than the soil left on the pot.
When you start to notice these signs, it is telling you that they want a bigger pot. If you are planning to repot your plants, here is your guide to a step-by-step plant repotting:
Step 1: Choose the Right Pot

If you are repotting your plants because they have outgrown the old pot, make sure that you choose a bigger one for your plants. According to the experts, it should be 2” bigger than its pot now. The bigger pot will be able to hold more soil for the growing roots of the plants, which means that there will be more room for the new roots.
Step 2: New Pot, New Soil
If you are giving your plants a new pot, don’t forget to give them new, fresh soil, too.
Step 3: Clean the Roots

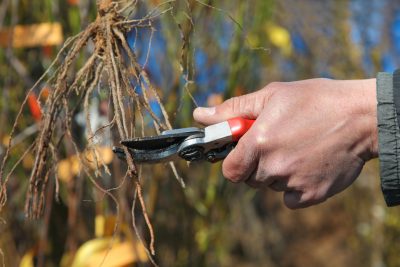
There are dead roots, rotten roots, and unhealthy roots that should be removed before transferring the plant to a new pot. Make sure you use clean and disinfected sharp scissors or pruning shears when you cut and remove the mushy roots. In addition, you also have to slowly and gently push the plants through the fresh soil.
Step 4: Position the Root Ball at the Center
The root ball should be placed at the center of the pot just 1” from the bottom. This will help the roots maximize the space.
Step 5: Fill the Pot with Soil
When plants are transferred on the new pot, make sure that fresh soil will also fill the top part.
Step 6: Water the Plant

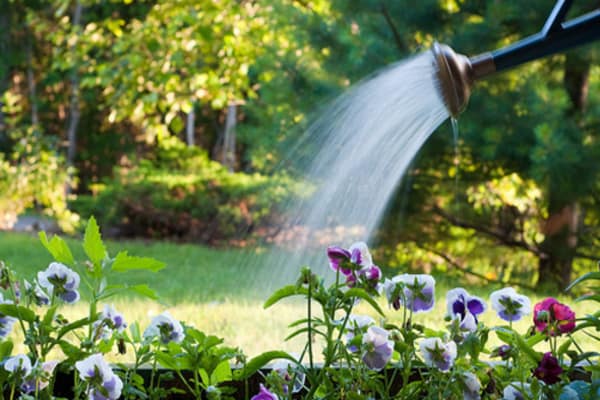
The plant needs thorough watering after the re-pot. Water should flow through the roots at the bottom of the soil.
Step 7: Give Plant Time to Rest
After the thorough watering, let the water drain completely. This will allow your plant to rest for a while on its new pot. After half an hour, you can now place the pot to its spot.
Useful Tips from the Experts:
If you want the plant to feel at home and happy on its new pot, make sure that the saucer is empty of excess water. A repotted plant will be more susceptible to root damage and disease if the soil is overwatered.
